How To Create A Paypal Developer Account
There are four steps to get started with your PayPal integration:
- Create a PayPal account.
- Create a REST API app.
- Get your API credentials.
- Create sandbox accounts for testing.
1. Create a PayPal account
Before you begin, you need a PayPal account. There are two types of accounts to choose from:
- Developer account – Easiest way to get started. Requires only your country of residence and email address. Allows sandbox (test) API calls only.
- Merchant account – A few more steps, but a lot more features. You need a merchant account to get your live API credentials.
To create a Developer account:
- Log in to the Dashboard.
- Select Sign Up.
- Enter your country of residence, email, and a password.
- Select Create Account.

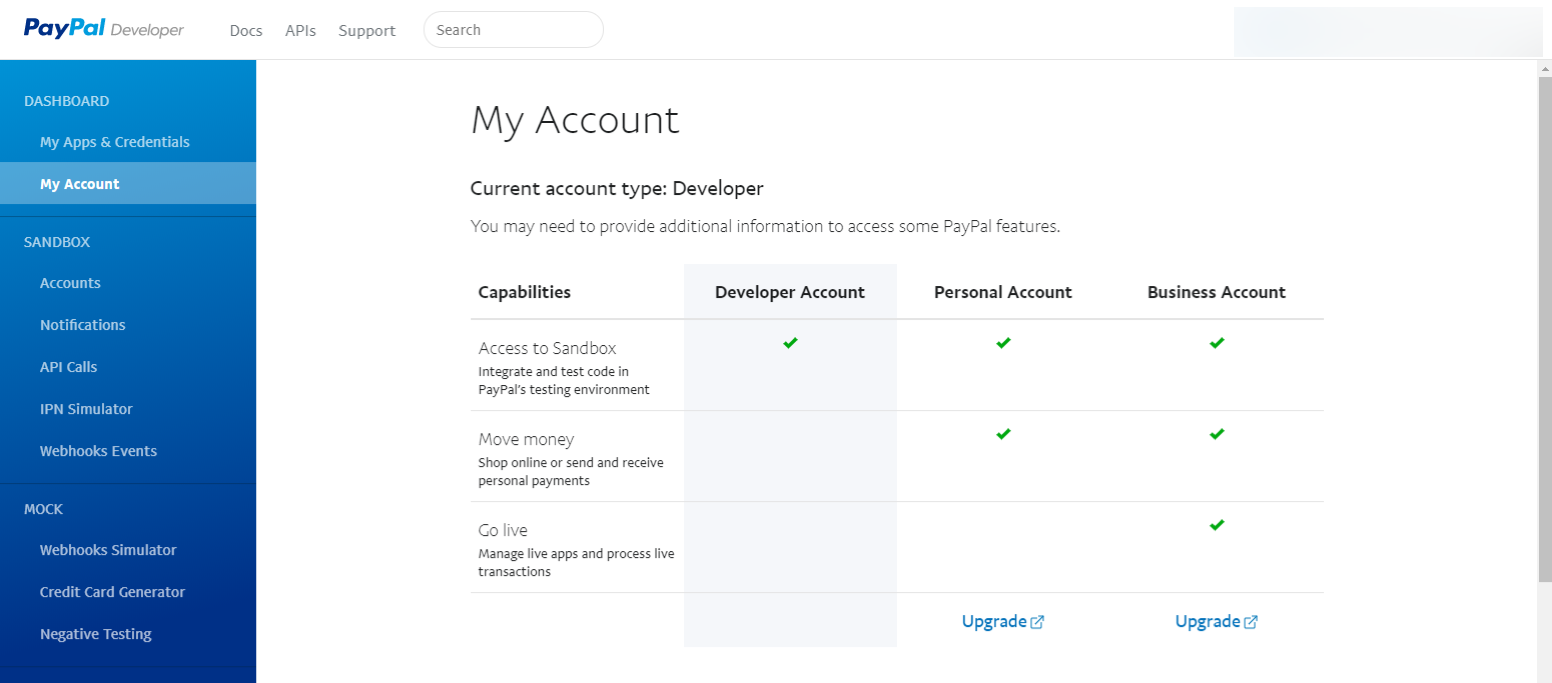
To upgrade your Developer account to a Merchant account:
- Log in to the Dashboard.
- Select My Account.
- Under Business Account, select Upgrade and complete the online form.

2. Create a REST API app
The first step in getting your API credentials is to create a REST API app. The app is a set of stored configurations used to authenticate calls to PayPal APIs. You can have multiple apps associated with your account.
To create a REST API app:
- Log in to the Dashboard.
- Select Create App.
- Enter an App Name; for example, 'My App'.
- Select Create App.

3. Get your API credentials
Your API credentials consist of a Client ID and Secret, which are required to make API calls and process transactions in the sandbox and live environments.
To get your sandbox API credentials:
- Log in to the Dashboard.
- Under My Apps & Credentials, select your REST API app from the list.
- Copy your Client ID.
- Under Secret, select Show to view the system-generated secret for your Client ID.

4. Create sandbox accounts for testing
Now that you have your API credentials, the last step is to create test buyer and merchant accounts so you can simulate transactions in the PayPal Sandbox environment.
What is the PayPal sandbox?
The PayPal sandbox https://sandbox.paypal.com is a test version of the live PayPal environment https://paypal.com where you test transactions and ensure your integration is working as expected before you go live.
| Environment | Base URL | Test here |
|---|---|---|
| Sandbox | https://api-m.sandbox.paypal.com | www.sandbox.paypal.com |
| Live | https://api-m.paypal.com | www.paypal.com |
Create sandbox accounts
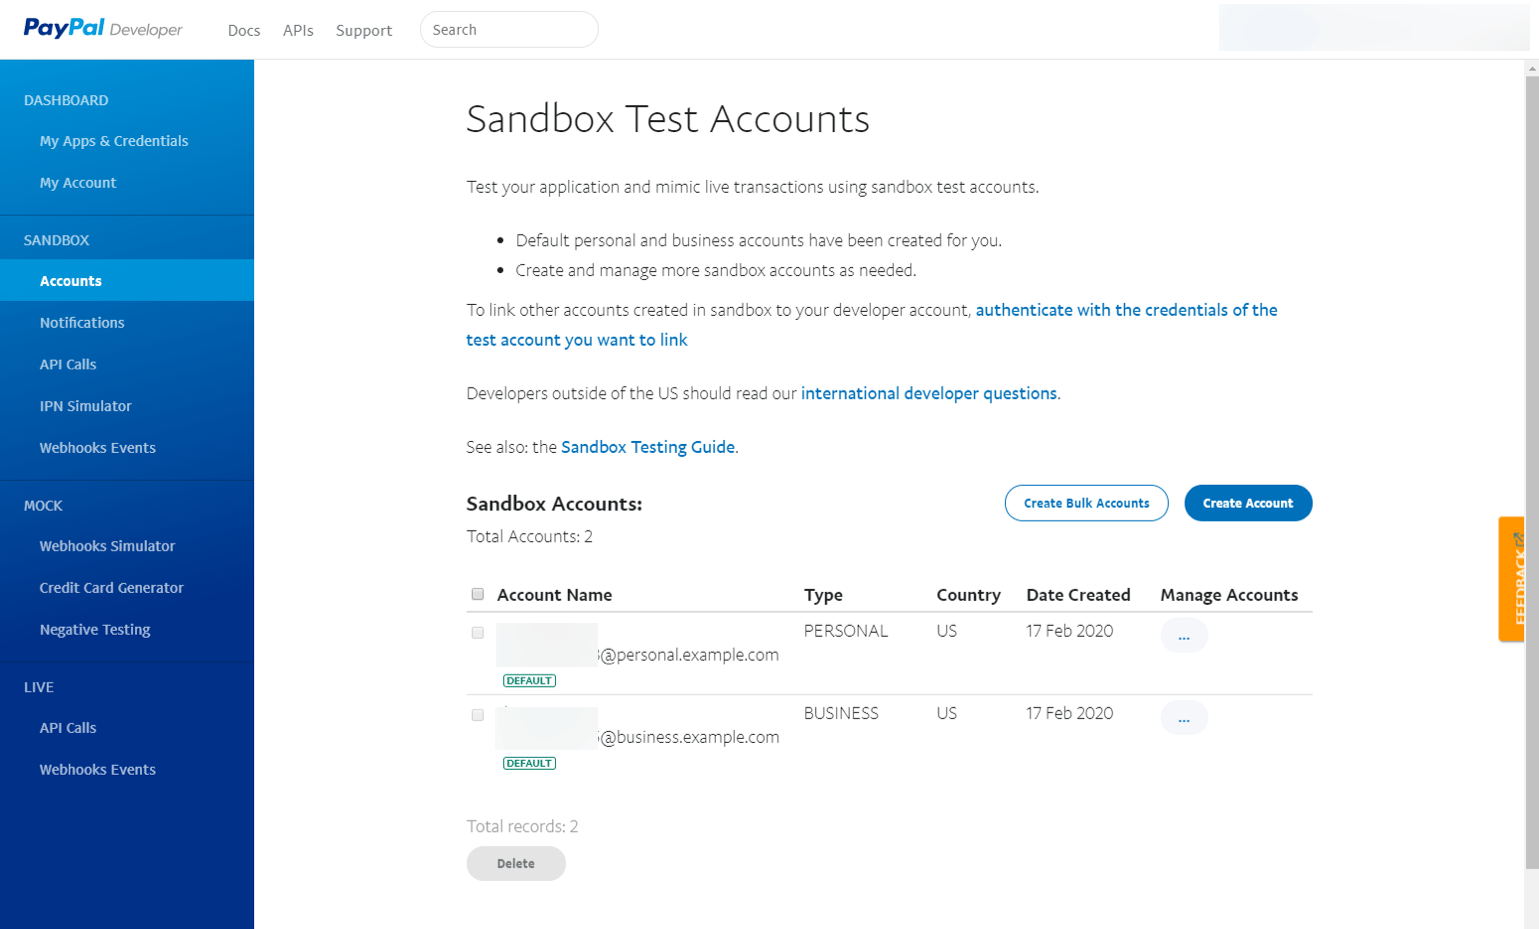
To create sandbox test accounts:
- Log in to the Dashboard.
- Under sandbox, select Accounts.
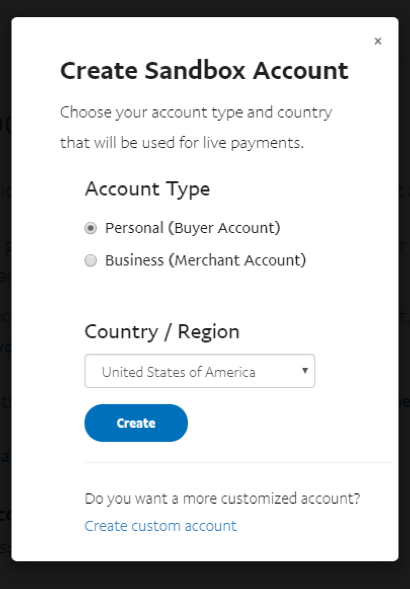
- Select Create Account.

- Select Personal or Business, then select a Country/Region for the test buyer or seller.
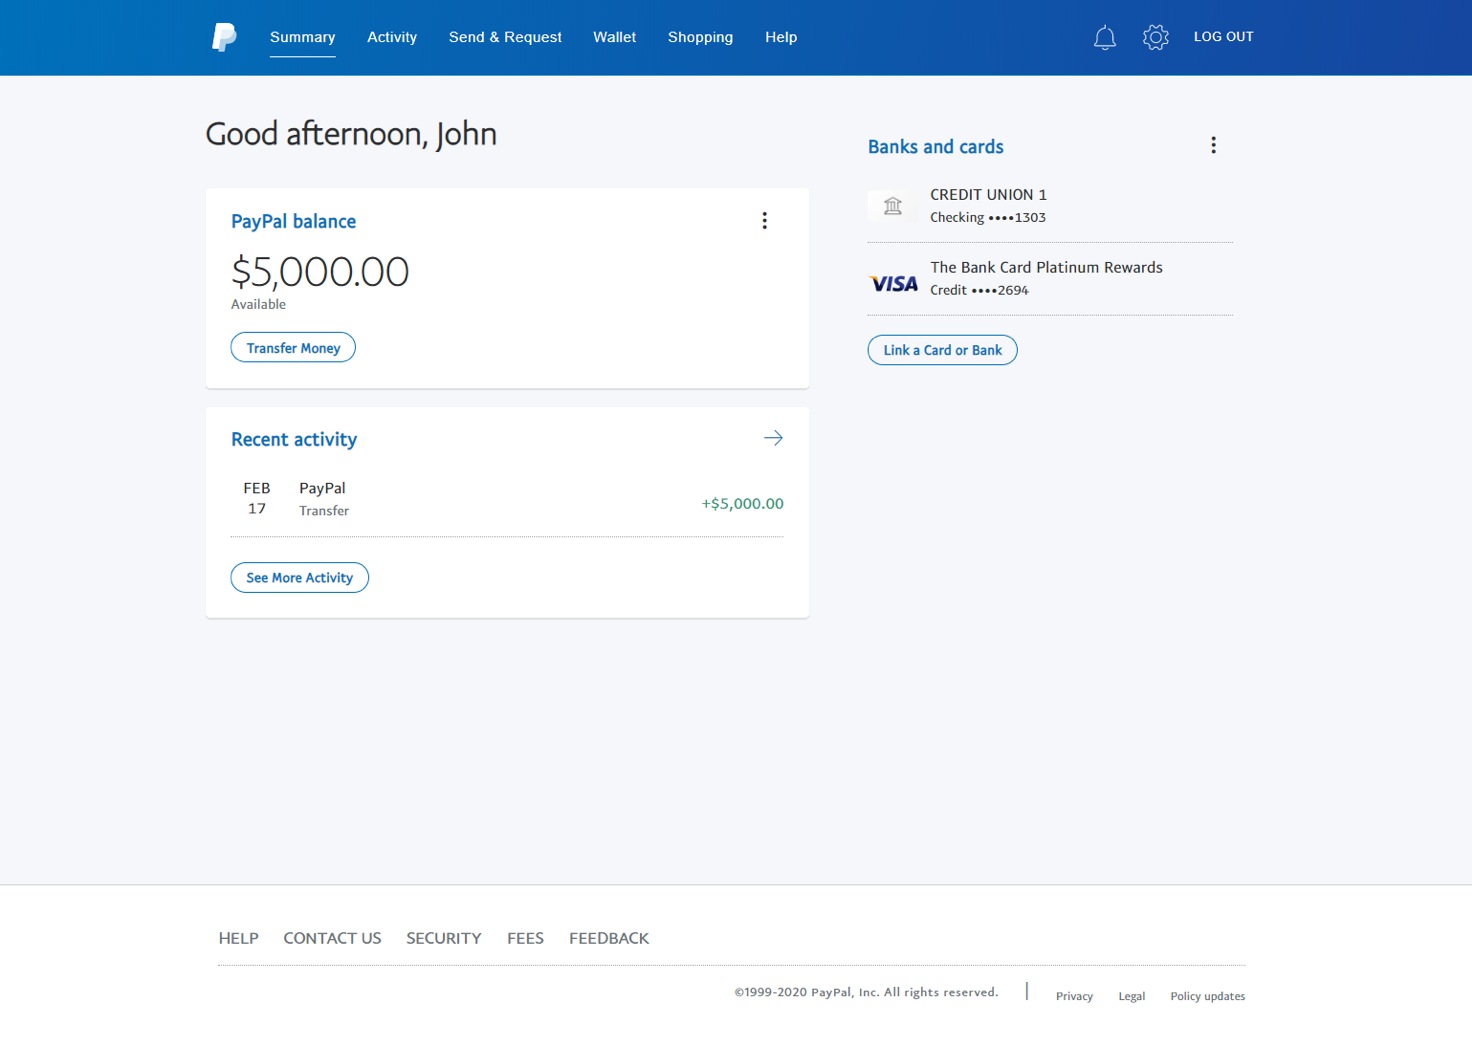
- Select Create. A sandbox email account is generated with a PayPal balance, credit card, bank account information, and more.

To change the default settings for your sandbox accounts:
- Under Manage Accounts, select (…) then select View/Edit Account.
- Select Edit, then make your changes.
- When finished, select Save.
To log in to the sandbox:
- Go to https://www.sandbox.paypal.com/.
- Log in using the email and password for your test buyer or seller.
- As you integrate, you can alternate between your test buyer and seller accounts to verify that transactions are working as expected before going live.

Next steps
Now that you've got the basics covered, you're ready to explore our powerful PayPal Commerce Platform:
- PayPal Commerce Platform for Business — Build a full stack solution for small to medium-sized businesses.
- PayPal Commerce Platform for Marketplaces and Platforms — Build a marketplace for sellers to connect and sell through.
- PayPal Commerce Platform for Enterprise — Explore our robust payment solutions for large enterprises.
How To Create A Paypal Developer Account
Source: https://developer.paypal.com/docs/get-started/
Posted by: dumaisention.blogspot.com

0 Response to "How To Create A Paypal Developer Account"
Post a Comment